


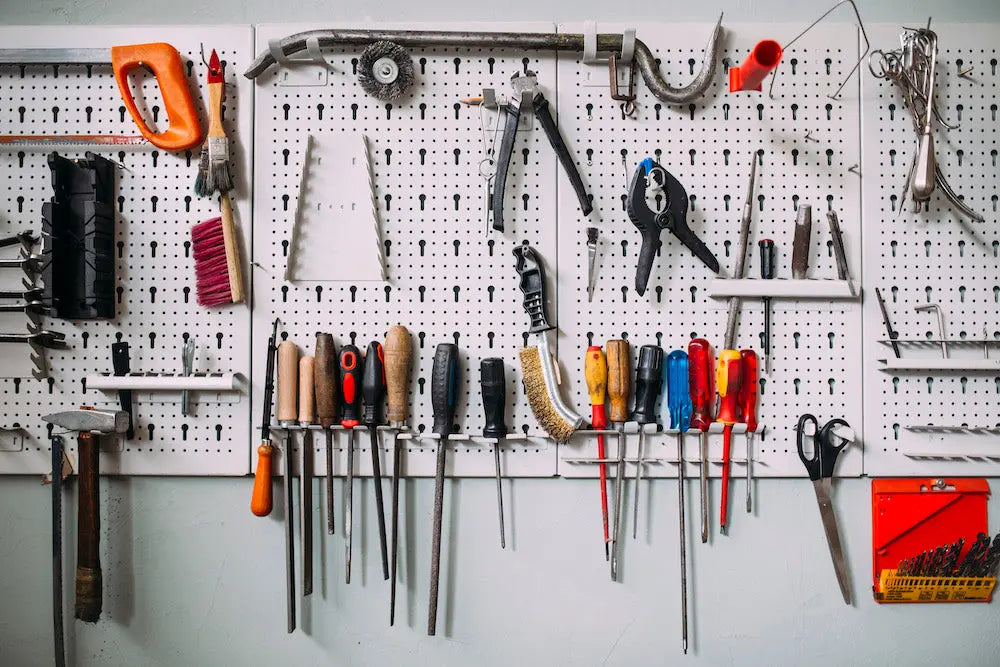
A cluttered garage can quickly turn into a frustration zone, but fear not! The solution is simple and stylish: a pegboard organizer. With a pegboard, you can neatly arrange and hang your tools, making them easily accessible while freeing up valuable workspace. Follow this step-by-step guide to transform your garage chaos into a haven of organization and efficiency.
Materials You’ll Need:
- Pegboard panel (size of your choice)
- Pegboard hooks and accessories
- Drill
- Screws and wall anchors
- Level
- Measuring tape
- Pencil
- Stud finder (optional)
- Power screwdriver
- Organizational tools (hooks, shelves, baskets)
Step 1: Measure and Plan
Begin by measuring the area of your garage wall where you intend to install the pegboard. Consider its height and width, ensuring it fits comfortably within your workspace. Sketch out a rough layout of where you’d like to place hooks, shelves, and other accessories on the pegboard.
Step 2: Choose the Right Pegboard
Visit your local hardware store or shop online to select a pegboard panel that suits your needs. Pegboards come in various sizes and materials, so opt for one that fits your available space and can support the weight of your tools.
Step 3: Prepare Your Workspace
Clear the designated wall in your garage of any obstacles. If you’re mounting the pegboard on drywall, locate the wall studs using a stud finder. Studs provide extra support for heavier tools.
Step 4: Mount the Pegboard
Hold the pegboard against the wall and use a level to ensure it’s straight. If you’re attaching it to studs, position it so that the screw holes align with the studs. Mark the hole locations on the pegboard using a pencil.
Step 5: Drill and Secure
Drill pilot holes into the marked locations on the pegboard. If you’re not screwing into studs, use wall anchors for added stability. Hold the pegboard back in place and secure it to the wall using screws and a power screwdriver.
Step 6: Attach Hooks and Accessories
Now comes the fun part! Start arranging and attaching pegboard hooks, shelves, and other accessories according to your layout plan. Different types of hooks are available for hanging tools of varying sizes and weights. Experiment with the arrangement until you find an organization system that suits your needs.
Step 7: Hang Your Tools
Hang your tools and equipment on the pegboard hooks. Consider grouping similar tools together for easy access. Larger items like hammers or gardening equipment can be hung from shelf brackets or specialized hooks.
Step 8: Final Touches
Stand back and admire your handiwork. You’ve transformed your garage into an organized and efficient workspace. Make any necessary adjustments to the arrangement based on your usage and preferences.
Congratulations! You’ve successfully created a pegboard organizer that not only keeps your tools within reach but also adds a touch of order to your garage. Enjoy the convenience and efficiency of your new organizational system as you tackle projects with ease.
Remember, the key to maintaining an organized garage is to consistently return tools to their designated spots on the pegboard after each use. This simple habit will keep your workspace tidy and functional for years to come.

Reader Interactions