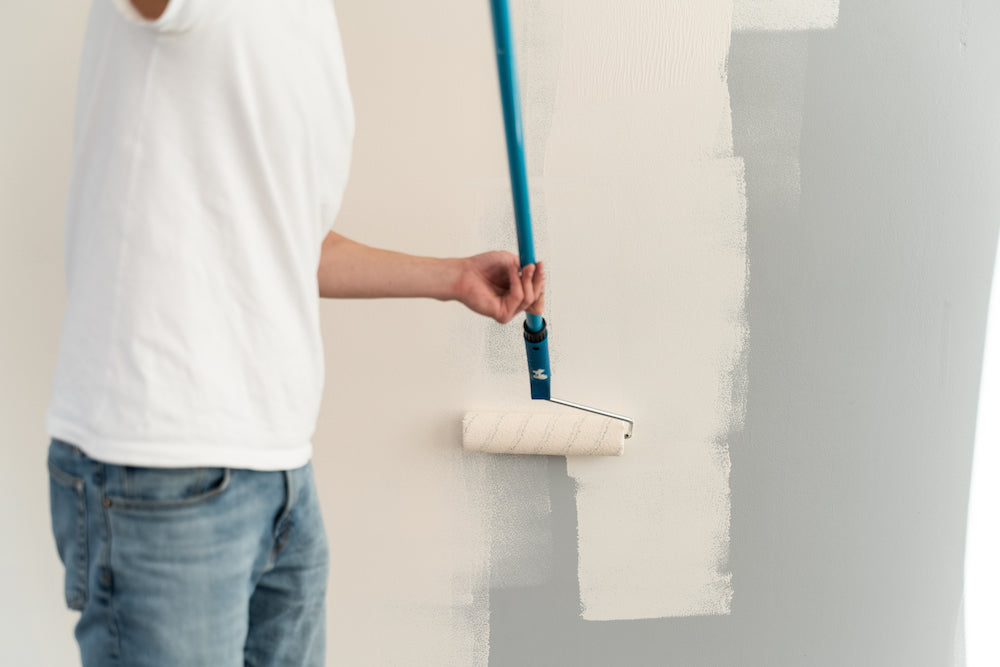
Embarking on DIY home improvement projects can be both rewarding and cost-effective. These projects not only save you money but can also significantly enhance the value and appeal of your home. Whether you are looking to refresh a room with a new coat of paint or undertake more substantial upgrades like installing new flooring, there are numerous projects you can tackle. This article will explore popular DIY home improvement projects, compare the costs of doing it yourself versus hiring professionals, discuss the best times to undertake these projects, and consider the impact on home value and warranties.
Popular DIY Home Improvement Projects
1. Painting Walls and Cabinets
- Materials Needed: Paint, brushes, rollers, painter’s tape, drop cloths, sandpaper.
-
Step-by-Step Process:
- Prepare the surface by cleaning and sanding.
- Apply painter’s tape to protect areas you don’t want painted.
- Apply primer if necessary.
- Paint using even strokes, starting with edges and corners.
- Allow the paint to dry and apply additional coats as needed.
2. Installing Backsplash
- Materials Needed: Tiles, adhesive, grout, tile spacers, trowel, sponge.
-
Step-by-Step Process:
- Measure and plan the layout of your tiles.
- Apply adhesive to the wall using a trowel.
- Place tiles on the adhesive, using spacers for even gaps.
- Once adhesive is set, apply grout between tiles and wipe excess with a sponge.
3. Updating Fixtures
- Materials Needed: New fixtures (faucets, light fixtures), screwdriver, wrench.
-
Step-by-Step Process:
- Turn off the power or water supply.
- Remove the old fixture.
- Install the new fixture according to manufacturer’s instructions.
- Turn the power or water supply back on and test the fixture.
4. Laying New Flooring
- Materials Needed: Laminate or vinyl planks, underlayment, saw, spacers, tape measure.
-
Step-by-Step Process:
- Prepare the subfloor by cleaning and leveling.
- Lay down the underlayment.
- Start laying planks, using spacers to maintain expansion gaps.
- Cut planks to fit as needed.
- Install baseboards or trim to cover expansion gaps.
5. Building Shelving and Storage
- Materials Needed: Wood, screws, brackets, drill, saw, level.
-
Step-by-Step Process:
- Measure and cut wood to desired size.
- Assemble shelving units using screws and brackets.
- Mount shelving units securely to the wall using a level to ensure they are straight.
6. Weatherstripping and Insulation
- Materials Needed: Weatherstripping, insulation, utility knife, adhesive.
-
Step-by-Step Process:
- Measure and cut weatherstripping to fit doors and windows.
- Apply adhesive and attach weatherstripping.
- For insulation, cut to size and install in attics or walls as needed.
7. Landscaping
- Materials Needed: Plants, mulch, garden tools, edging materials.
-
Step-by-Step Process:
- Plan your landscape design.
- Prepare the soil by removing weeds and adding compost.
- Plant flowers, shrubs, and trees according to your design.
- Add mulch and install edging to define garden beds.
8. Creating a Patio or Deck
- Materials Needed: Wood or pavers, concrete, gravel, screws, drill.
-
Step-by-Step Process:
- Plan and mark the area for your patio or deck.
- Prepare the ground by leveling and adding gravel or concrete.
- Lay pavers or build a wooden deck frame.
- Secure pavers or deck boards in place.
9. Refinishing Furniture
- Materials Needed: Sandpaper, paint or stain, brushes, protective finish.
-
Step-by-Step Process:
- Sand the furniture to remove old finish and smooth the surface.
- Apply paint or stain in even coats.
- Allow to dry and apply a protective finish.
10. Updating Window Treatments
- Materials Needed: Blinds, curtains, or shades, mounting hardware, drill.
-
Step-by-Step Process:
- Measure windows and choose appropriate treatments.
- Install mounting hardware according to instructions.
- Hang blinds, curtains, or shades.
11. Installing Ceiling Fans
- Materials Needed: Ceiling fan kit, screwdriver, ladder, wire connectors.
-
Step-by-Step Process:
- Turn off the power to the room.
- Remove the existing light fixture.
- Follow manufacturer instructions to install the ceiling fan.
- Turn the power back on and test the fan.
12. Sealing Driveways and Walkways
- Materials Needed: Sealant, squeegee, pressure washer.
-
Step-by-Step Process:
- Clean the surface using a pressure washer.
- Apply sealant with a squeegee, working in sections.
- Allow the sealant to dry thoroughly.
13. Creating a Feature Wall
- Materials Needed: Paint, wallpaper, wood paneling, tools.
-
Step-by-Step Process:
- Choose the design and materials for your feature wall.
- Prepare the wall by cleaning and priming if necessary.
- Apply paint, wallpaper, or paneling according to the design.
14. Building a Raised Garden Bed
- Materials Needed: Wood, soil, plants, screws, drill.
-
Step-by-Step Process:
- Cut wood to size and assemble the frame.
- Place the frame in the desired location and fill with soil.
- Plant vegetables or flowers.
Cost Comparisons: DIY vs. Professional Services
1. Painting Walls and Cabinets
- DIY Cost: $100-$300
- Professional Cost: $500-$2,000
- Savings: $400-$1,700
2. Installing Backsplash
- DIY Cost: $100-$400
- Professional Cost: $600-$1,500
- Savings: $500-$1,100
3.Updating Fixtures
- DIY Cost: $50-$300
- Professional Cost: $200-$1,000
- Savings: $150-$700
4. Laying New Flooring
- DIY Cost: $500-$2,000
- Professional Cost: $2,000-$5,000
- Savings: $1,500-$3,000
5. Building Shelving and Storage
- DIY Cost: $50-$200
- Professional Cost: $300-$1,000
- Savings: $250-$800
6. Weatherstripping and Insulation
- DIY Cost: $50-$200
- Professional Cost: $200-$800
- Savings: $150-$600
7. Landscaping
- DIY Cost: $100-$500
- Professional Cost: $500-$2,000
- Savings: $400-$1,500
8. Creating a Patio or Deck
- DIY Cost: $1,000-$3,000
- Professional Cost: $5,000-$10,000
- Savings: $4,000-$7,000
9. Refinishing Furniture
- DIY Cost: $50-$150
- Professional Cost: $200-$600
- Savings: $150-$450
10. Updating Window Treatments
- DIY Cost: $100-$300
- Professional Cost: $300-$1,000
- Savings: $200-$700
11. Installing Ceiling Fans
- DIY Cost: $50-$200
- Professional Cost: $150-$400
- Savings: $100-$200
12. Sealing Driveways and Walkways
- DIY Cost: $100-$300
- Professional Cost: $300-$1,000
- Savings: $200-$700
13. Creating a Feature Wall
- DIY Cost: $100-$300
- Professional Cost: $500-$1,500
- Savings: $400-$1,200
14. Building a Raised Garden Bed
- DIY Cost: $50-$150
- Professional Cost: $200-$500
- Savings: $150-$350
Best Times to Undertake DIY Projects
1. Painting Walls and Cabinets
- Best Time: Spring or Fall
- Reason: Moderate temperatures and lower humidity help paint dry evenly.
2. Installing Backsplash
- Best Time: Any time of year
- Reason: Indoor project, not weather-dependent.
3. Updating Fixtures
- Best Time: Any time of year
- Reason: Indoor project, look for sales during holidays to save on materials.
4. Laying New Flooring
- Best Time: Spring or Fall
- Reason: Moderate temperatures prevent expansion or contraction issues.
5. Building Shelving and Storage
- Best Time: Any time of year
- Reason: Indoor project, winter is a good time for indoor activities.
6. Weatherstripping and Insulation
- Best Time: Late Fall
- Reason: Prepares home for winter energy efficiency.
7. Landscaping
- Best Time: Spring or Early Fall
- Reason: Plants establish roots before summer heat or winter cold.
8. Creating a Patio or Deck
- Best Time: Late Spring to Early Summer
- Reason: Complete in time for warm weather enjoyment.
9. Refinishing Furniture
- Best Time: Spring or Fall
- Reason: Moderate temperatures and lower humidity are ideal.
10. Updating Window Treatments
- Best Time: Any time of year
- Reason: Indoor project, can be done anytime.
11. Installing Ceiling Fans
- Best Time: Spring
- Reason: Prepares home for summer cooling.
12. Sealing Driveways and Walkways
- Best Time: Late Spring to Early Fall
- Reason: Dry conditions and moderate temperatures are ideal.
13. Creating a Feature Wall
- Best Time: Any time of year
- Reason: Indoor project, winter is good for indoor improvements.
14. Building a Raised Garden Bed
- Best Time: Early Spring
- Reason: Prepares for planting season.
Impact on Home Value and Warranties
1. Positive Impact on Home Value
- Aesthetic Improvements: Fresh paint, new fixtures, and updated flooring can enhance home appeal.
- Functional Upgrades: Additional storage, better insulation, and outdoor spaces add value.
- Energy Efficiency: Weatherstripping and insulation reduce energy costs and attract buyers.
2. Negative Impact and Risks
- Poor Quality Work: Substandard DIY work can decrease home value and require professional fixes.
- Over-Personalization: Highly personalized changes may not appeal to potential buyers.
3. Warranties Considerations
- Appliance and Fixture Warranties: Improper installation can void warranties. Follow manufacturer guidelines.
- Structural and System Warranties: DIY modifications to structural elements can void builder warranties.
4. Avoiding Issues
- Follow Manufacturer Guidelines: Adhere to instructions to keep warranties intact.
- Use Approved Materials and Tools: Use recommended materials to avoid issues.
- Keep Documentation: Maintain records of DIY projects and purchases.
- Know Your Limits: For complex projects, consider hiring a professional.
Conclusion
DIY home improvement projects offer numerous benefits, including cost savings and increased home value. Timing these projects appropriately and ensuring quality work can maximize their positive impact. However, it’s important to be aware of warranty considerations and potential risks. With careful planning and execution, DIY projects can be a fulfilling and economical way to enhance your home.


Reader Interactions