


Laser levels have revolutionized the world of construction and DIY projects, offering unparalleled accuracy and ease of use. Whether you’re hanging a picture frame or laying the foundation for a new home, a laser level can be your best friend. This blog aims to provide a comprehensive guide on using laser levels effectively, ensuring your projects are always on point.
Understanding Laser Levels
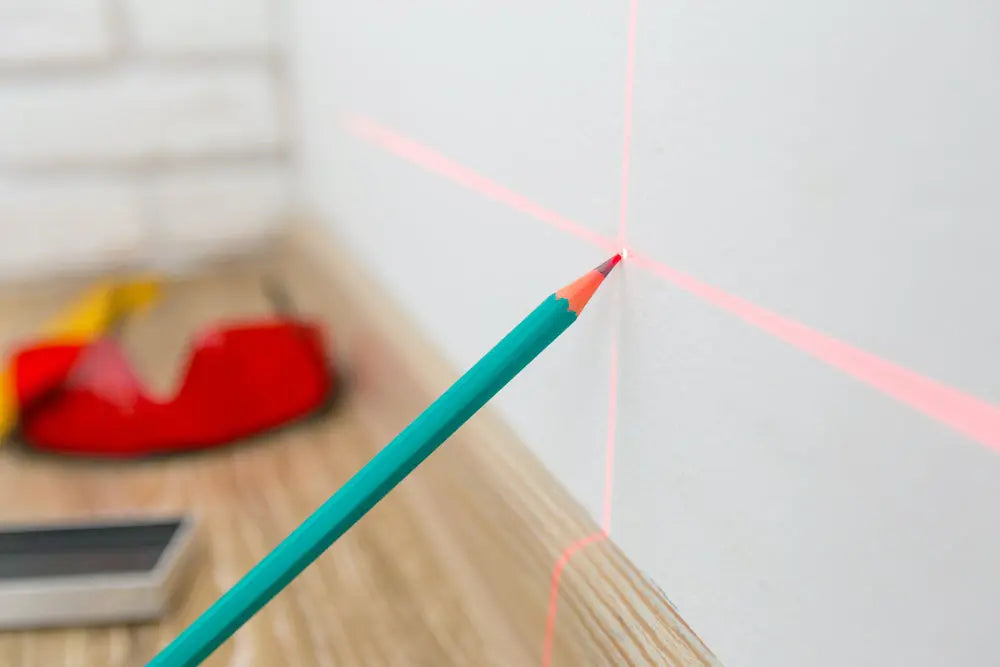
At its core, a laser level is a control tool that emits a beam of light to produce a straight line on a surface. This line serves as a visual guide for leveling and alignment tasks.
There are several types of laser levels:
- Dot Lasers: Project a dot onto surfaces.
- Line Lasers: Emit a straight line across a wall or floor.
- Rotary Lasers: Project a 360-degree line around a room or outdoor space.
Getting Started with Laser Levels: The Basics
Setting Up the Laser Level
Before diving into your project, it’s crucial to set up your laser level correctly. Place it on a stable surface or mount it on a tripod to ensure accuracy. Some models even come with wall mounts, allowing for versatile placement options.
Turning On and Adjusting the Laser Level
Once in place, power on your laser level. Many models feature built-in bubble vials. Adjust the level until the bubble is centered, ensuring the tool is perfectly level. If you’ve invested in a model with a self-leveling feature, it will automatically adjust to the optimal position within a specific range.
Using the Laser for Various Measurements
Depending on your project, you might need the laser to project vertically, horizontally, or at an angle. Ensure the laser line is perpendicular to the ground for vertical measurements and parallel for horizontal tasks. Some advanced models even offer angular settings for specialized projects.
Safety and Maintenance
Safety should always be a priority. Never look directly into the laser beam, and keep the tool out of children’s reach. To prolong the life of your laser level, turn it off when not in use, store it in its protective case, and clean the lens with a soft cloth.
Lesser-Known Tips for Laser Level Mastery
Calibration Checks
Before embarking on any project, test your laser level’s calibration on a known level surface. This simple step ensures accuracy and can save you from potential headaches down the line.
Optimal Lighting Conditions
Laser lines are most visible in low light conditions. If you’re struggling to see the laser, consider dimming the lights or using laser-enhancing glasses, which make the laser line pop against the background.
Advanced Tools and Accessories
For those working outdoors or in bright sunlight, a laser line can be challenging to spot. In such cases, a laser detector can be invaluable. If you’re looking to extend the range of your laser level, consider using a laser target, a reflective surface that enhances the laser line’s visibility.
Avoiding Common Pitfalls
Be wary of mirrors and other reflective surfaces that can distort or redirect the laser beam. Also, make use of fine adjustment knobs (if available) for minute tweaks without moving the entire setup. And always document your settings, especially for multi-day projects.
Environmental Considerations
Protect your laser level from the elements. If working in dusty conditions or outdoors, opt for a model with a high Ingress Protection (IP) rating. Also, allow your laser level to acclimate to temperature changes to maintain accuracy.
Conclusion
Laser levels are a game-changer for both professionals and DIY enthusiasts. By understanding the basics and implementing the pro tips provided, you can ensure that your projects are executed with precision and ease.

Reader Interactions