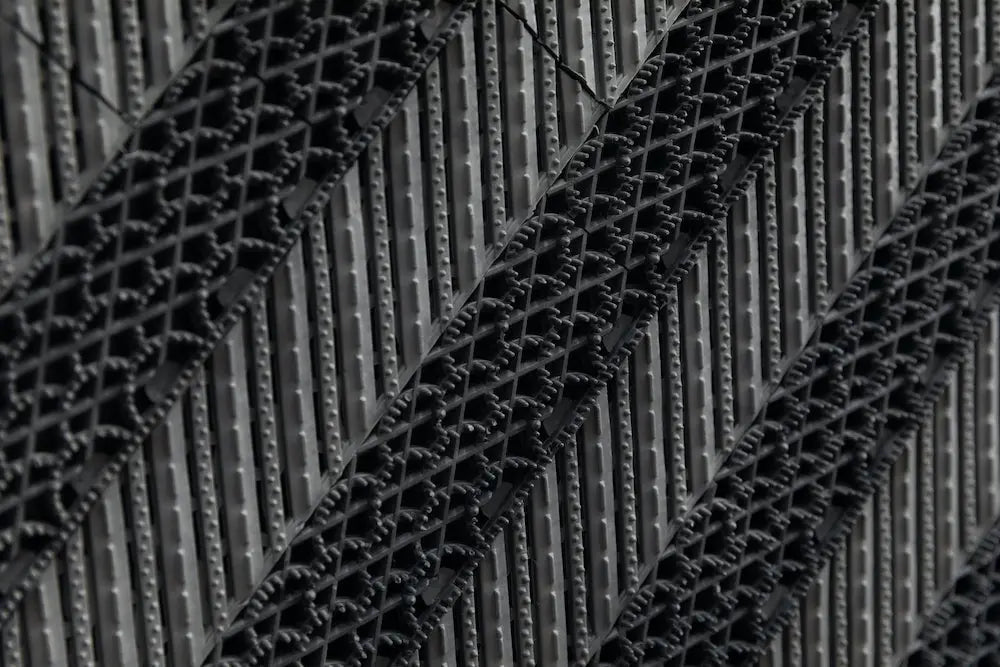
Garage floor vinyl mats are not only functional but also add an aesthetic appeal to your garage space. However, over time, they can accumulate dirt, grime, and even unsightly tire marks. Cleaning these mats requires a delicate touch to preserve their quality and appearance. In this comprehensive guide, we’ll walk you through the step-by-step process of effectively cleaning your garage floor vinyl mats, ensuring they remain in top-notch condition for years to come.
Materials You’ll Need
Before you embark on your cleaning journey, gather the following materials:
- Broom or vacuum cleaner
- Bucket
- Mild detergent or vinyl floor cleaner
- Soft bristle brush or mop
- Water hose or pressure washer (optional)
- Rubber gloves (optional)
- Microfiber towels or old rags
Step-by-Step Cleaning Guide:
Step 1: Clear the Area
Begin by removing any loose dirt, debris, or larger particles from the vinyl mat using a broom or vacuum cleaner. This initial step will make the subsequent cleaning process more effective.
Step 2: Prepare a Cleaning Solution
Fill a bucket with warm water and add a small amount of mild detergent or a vinyl floor cleaner. Ensure that you follow the manufacturer’s guidelines for dilution if you’re using a specific vinyl cleaner.
Step 3: Pre-Rinse
If possible, take the vinyl mat outside and lay it flat on a clean surface. Use a water hose or a pressure washer on a gentle setting to pre-rinse the mat. This will help remove the first layer of dirt and grime.
Step 4: Scrub the Mat
Dip a soft bristle brush or mop into the soapy water and gently scrub the vinyl mat. Pay special attention to any areas with tire marks or stubborn stains. Avoid using abrasive brushes that could harm the surface.
Step 5: Thorough Rinse
Rinse the mat with clean water using a water hose or pressure washer. Make sure to eliminate all traces of soap and dirt during this step.
Step 6: Spot Cleaning (if necessary)
For persistent stains, create a paste using baking soda and water. Apply the paste to the stained area and gently scrub with a soft brush. Rinse thoroughly afterward.
Step 7: Final Rinse and Drying
Give the mat a final rinse to ensure that no cleaning solution or residue remains. Pat the vinyl mat dry using microfiber towels or old rags. Prevent extended moisture exposure, as it could damage the material.
Step 8: Regular Maintenance
To keep your vinyl mat clean, sweep or vacuum it regularly to prevent dirt and debris buildup. Avoid using harsh chemicals, bleach, or abrasive tools as they can damage the vinyl material.
Step 9: Protective Measures
Consider using a tire barrier or protective mat under areas where tires come into contact with the vinyl mat. This can help prevent tire marks and stains.
Conclusion
By following this comprehensive guide, you can confidently clean your garage floor vinyl mats while preserving their appearance and longevity. Regular maintenance and proper cleaning techniques will ensure that your vinyl mats remain a functional and visually appealing addition to your garage space. Remember to check the manufacturer’s guidelines and spot-test any cleaning solutions before use to prevent damage or discoloration.


Reader Interactions